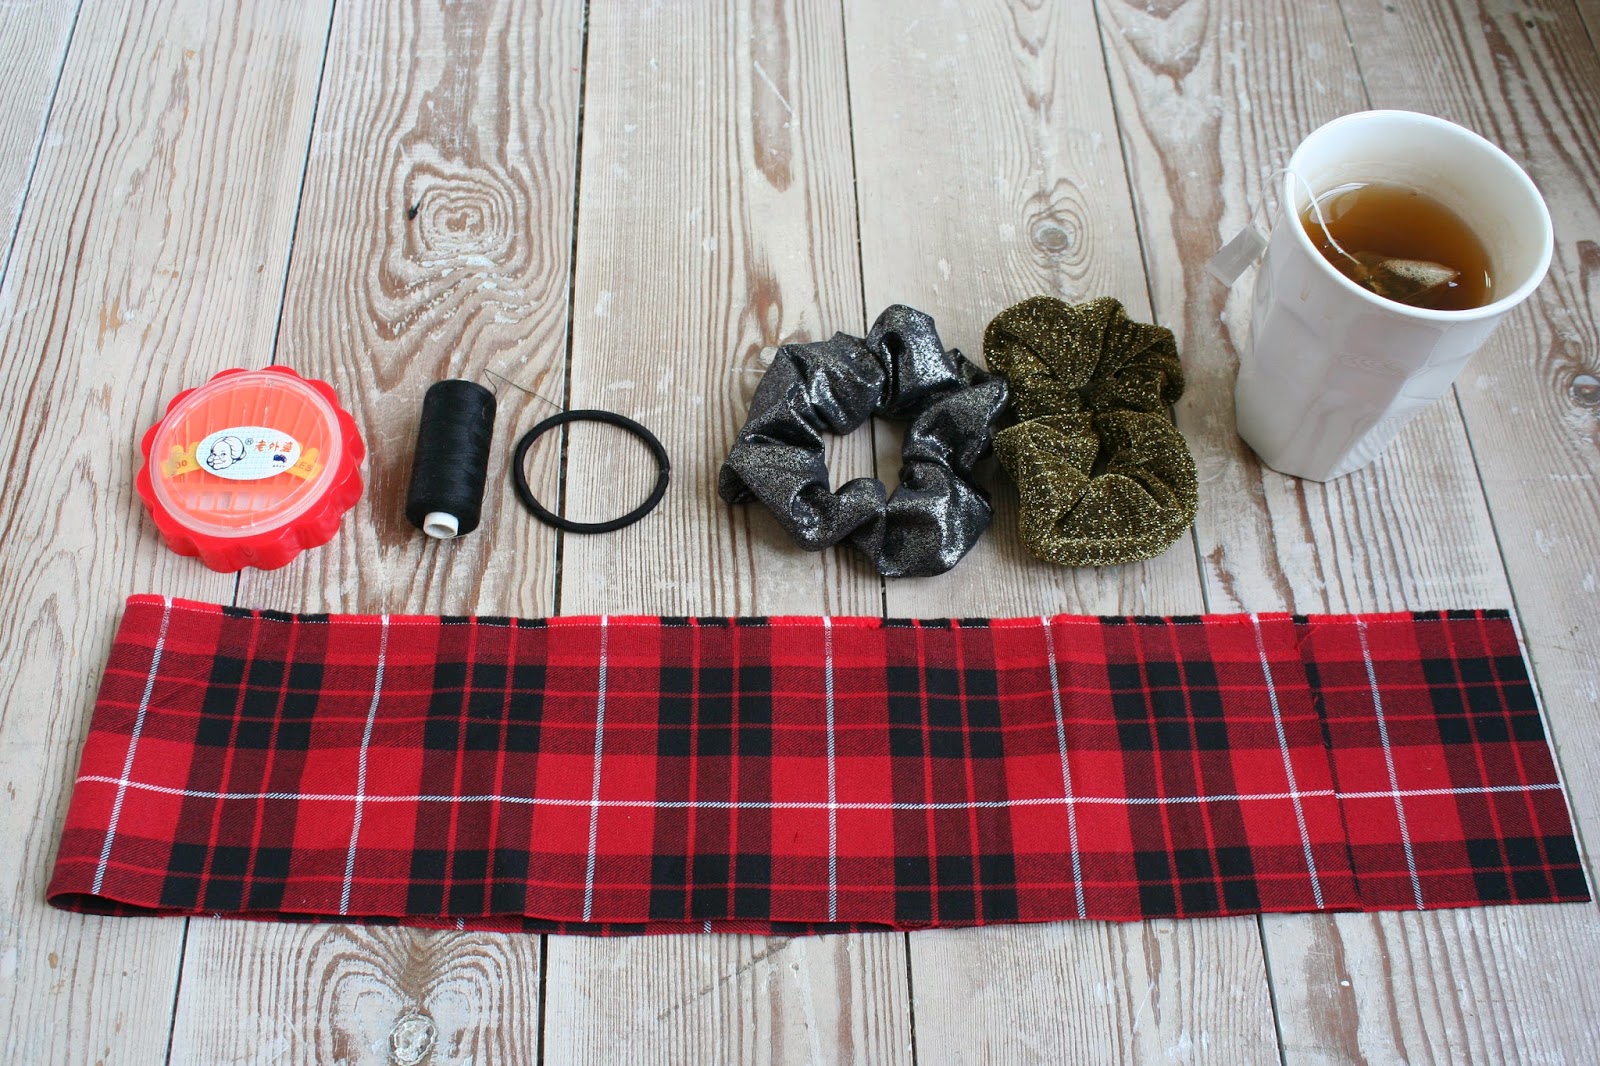
zondag 16 februari 2014

DIY - The Scrunchie

I remember pointing out a scrunchie to my mom back when I was a child and telling her how ugly I thought they were. This always seems to happen to me. I can absolutely hate a trend one day and be totally in love with it only a week later. I love anything from the 80's nowadays: High-waisted trousers, golden hoops, platforms, crop-tops and of course the scrunchie! I ran into American Apparel and Urban Outfitters on the hunt for my first scrunchie. I was looking for one with a tartan print but couldn't find it anywhere so I went with the black-velvet one from American Apparel. Later my friend got me a pair from Urban outfitters. Both are kind of a metallic material which I really like to pair with a bold lip color. But to be honest I've been combining everything with a bold lipstick lately... I still didn't get around to purchasing a tartan print scrunchie so I got my lazy ass to a fabric shop and bought myself a piece of tartan-printed fabric. Why spend another €6,00 on a hair tie when you can make one yourself?


What you will need
- a needle
- thread
- a simple but good quality hair tie
- a piece of fabric 80cm X 10cm
- a cup of tea
- Jazz music
- patience

1. Double fold the fabric and make sure that it is inside-out. 

2. Stitch the corners together around the hair tie.

3. Do the same thing with the other two corners.

4. Stitch all the way around the hair tie to create a kind of tube. Stop stitching as soon as you reach the end of your fabric.

5. To hide the ugly border where we just stitched we are going to turn the fabric inside out. This might take some time but it will be worth it.

6. Now we've become an "open scrunchie". Fold a piece from one side of the tube into the other side and stitch them together to close up the scrunchie.

And you are done! My favorite way to style the scrunchie is to make a bun with the upper layer of my hair and leave the lower layer hanging. This gives the illusion of a very long pony tail and here is what: "If you go 80's, you have to go all the way!"


Geen opmerkingen:

Een reactie posten

Follow on Bloglovin